Introduction
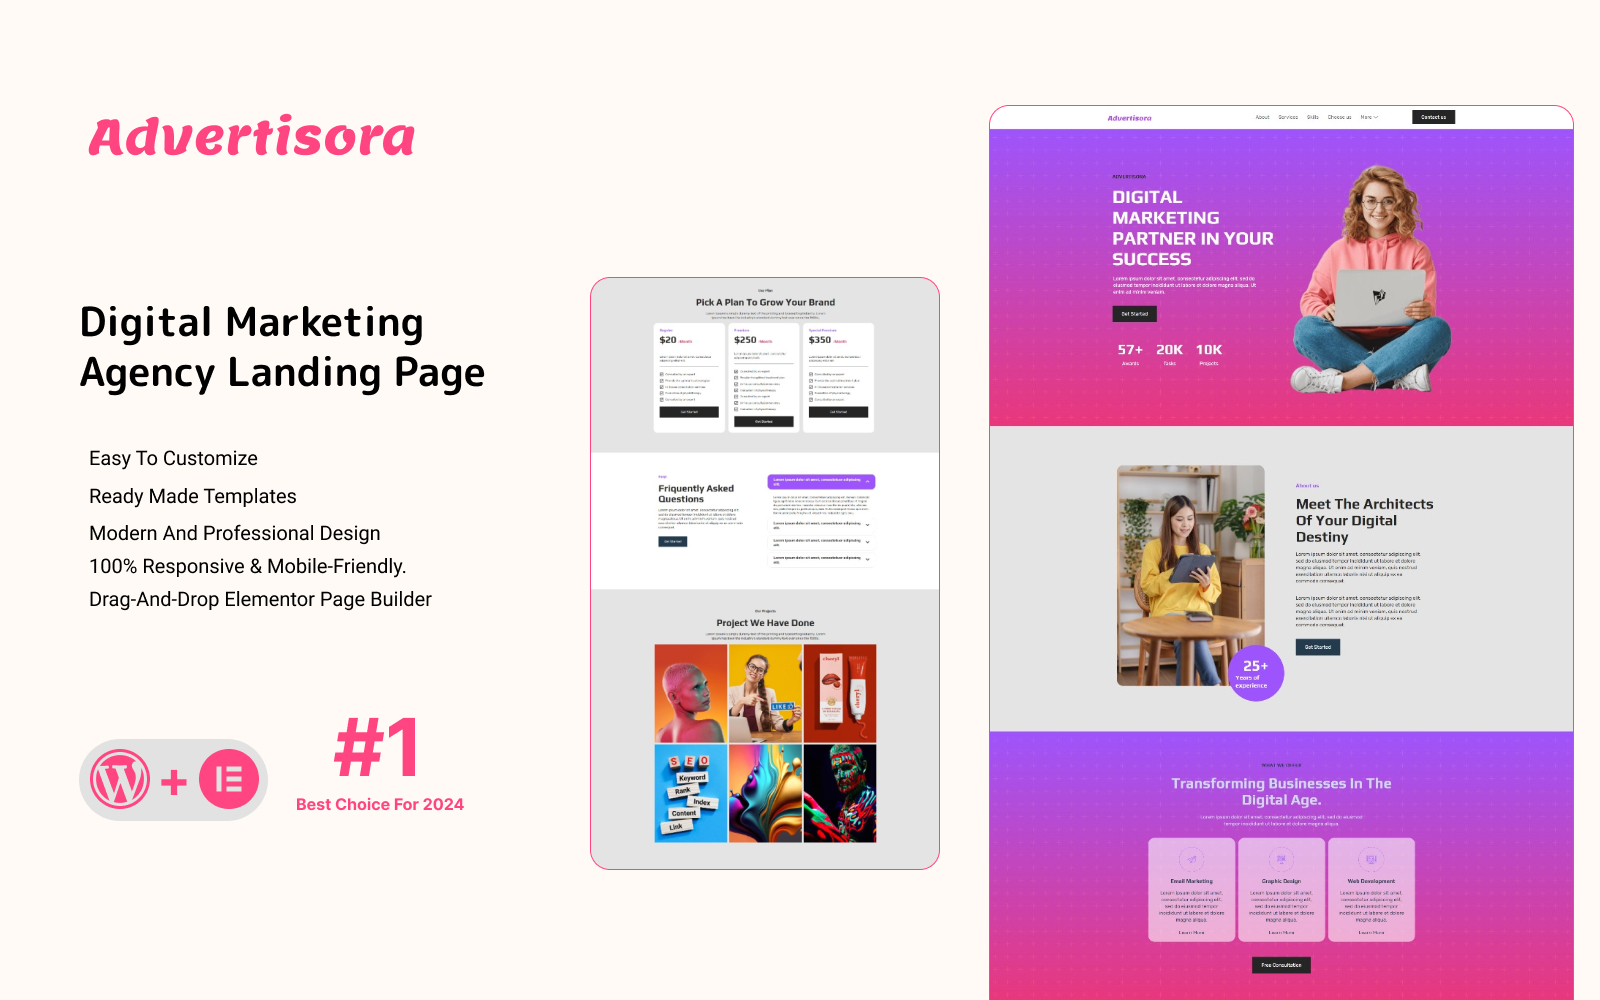
Introducing Advertisora – the ultimate Elementor Template Kit exclusively designed for advertisers. With 12+ professionally crafted section blocks, Advertisora simplifies the creation of captivating landing pages for advertising campaigns. Powered by the user-friendly Elementor Page Builder, customization is a breeze – no coding skills required. Advertisora seamlessly integrates with the free Hello Elementor theme and most Elementor-supported themes, offering flexibility and versatility for your advertising needs. Elevate your campaigns with Advertisora and unleash the potential of your advertising endeavors. Experience Advertisora Pro for limitless possibilities in crafting impactful landing pages that drive results.
Feature
- Modern and Professional design.
- Drag-and-drop Elementor page Builder.
- Built with Elementor Free.
- 100% Responsive & mobile-friendly.
- 12+ pre-built sections.
- Easy to customize.
- No coding required.
- Template kit built with Elementor Hello Theme.
Templates Include:
- Home
- 404
Sections and Blocks:
- Header
- Footer
- Contact
- Hero
- Team
- Services
- Skills
- Contact
- Project
- FAQs
- Why Choose Us
- Call to Action
- Project
- Testimonials
- Blogs
- Pricing
- 404 error
Required Plugins Pre-Installed With the Kit
- Elementor
- Jeg Elementor Kit
- Metform
Importing Metforms: What You Need to Know
- The metform block templates should be imported.
- Import the page template with the form on it and enable the Navigator by right-clicking.
- Click Edit Form after locating and selecting the Metform widget. Then select New and Edit Form from the drop-down menu. The function Object() { [native code] } will show up.
- Select the grey folder icon that says ‘Add Template’.
- Select the ‘My Templates’ option from the drop-down menu.
- Then click ‘Insert’ after selecting your imported metform template (click No for page settings).
- After you’ve finished customizing the template, click ‘Update & Close.’ In the template, the form will appear.
- Update the information by clicking the button.
In Elementskit, Configure The Global Header and Footer
- Import the template for the header and footer.
- Navigate to ElementsKit Header Footer and select Add New (if prompted with a wizard, you may click Next through it without taking any action).
- Toggle Activation to On, title the header, and leave Entire Site selected.
- To open the builder, click the grey Edit Content button.
- Select the header template to import by clicking the grey folder icon, then select your menu in the nav element and click Update.
- Repeat for the footer.
demo pictures are used in this Template Kit. To use these photos on your website, you’ll need to purchase a license, or you can use your own.
